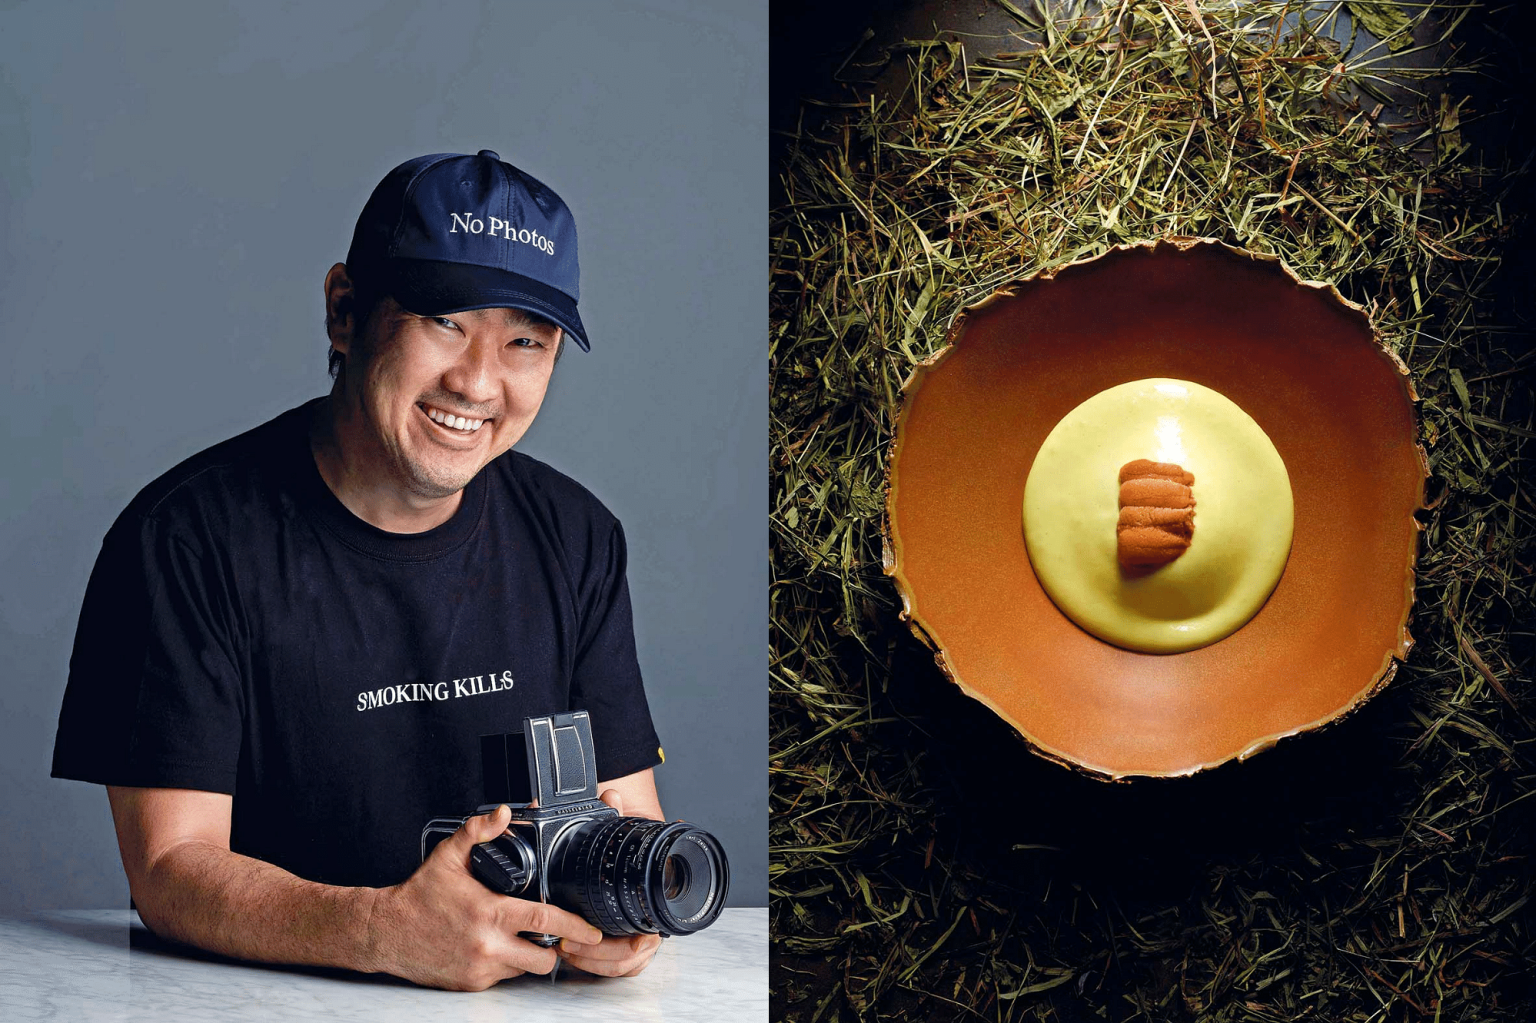
Chefs tell us that we eat with our eyes first, which is why presentation is so important in culinary arts. When you flip through cookbooks by Singapore’s top chefs or browse the menus of fine hotels and restaurants, and chances are, you’re likely to find beautifully styled photos of the food by the founder of Edmond Ho Fotographie. Besides tips for beginners, he provides more information about taking delicious food photos.
What is your approach to creating food shots?
We conceptualise based on the cuisine, current food trends and creative expectations. Occasionally, clients provide us with mood boards of their desired visuals. Based on these, we will decide on the look and feel of the photos. Afterwards, we will style the photos to give them a sense of identity.
What do you do to make the food look appetising in the picture?
Lighting is essential. In contrast to clean, white lighting, dark or moody lighting gives the food shape and
creates a 3D look. Photograph the food fast to capture its freshness. Colours also make food pop. Choosing the right plate for the food is crucial.
Experiment with different shapes and sizes. The action of twirling the pasta or scooping out the dish can enhance the dish. Sprinkle or drizzle some olive oil just before clicking the shutter to make the food look glossy but not too greasy.

What is your top style tip for making food look good?
You should shoot it as soon as possible once it is presented to you and go close up to capture the dish’s colours, contours, and flavours. Move around to find the perfect light to capture a good photo rather than staying in one spot. Focus on the main dish and minimise clutter. Shoot food from multiple angles, as some dishes look better laid flat; others at a 45-degree angle. Finding a unique background for your shots also helps tell a good story about the location or unique corner of the place.
In your food photography, when do you use flat lay, and when do you use certain angles?
A flat lay is the best way to show off the entire dish. Angled shots allow you to use more depth of field, so you can blur out the background. Flat lay photos are more suitable for some dishes than angle shots. For example, at a 45-degree angle, burgers are more visible, and flat lays are better for pizzas.

In photographing food, what is the most critical element?
Everything revolves around lighting. Natural light is the cheapest and most efficient solution. You should shoot with natural daylight without additional lighting equipment. Choosing the right macro lens and going close to the subject is vital when photographing food, too. Add interesting props with textured backdrops or linen to enhance the dishes.
What tips would you give to someone who wants to take nice food photos?
The difference between interior and food photography is when you look at the minute details instead of the big picture.
Starting with a small dish with interesting ingredients or textures is always a good idea. Play with colours. If you pay attention to the texture and the colour of the food, you will be amazed by the colours of food photography. Take close-ups to show the dish’s characteristics. Natural light is best for beginners. Shadows cast by sunlight can add visual interest and depth to your pictures. Always use a neutral background with a colour that complements the dish.

What has been the most challenging food to photograph so far?
Melting ice cream or piping hot dishes call for us to capture drips and smoke. Curries, brown sauces, and plain dishes with no textures are not very photogenic. Our solutions include using backdrops with texture and garnishes like edible flowers and organic microgreens to add colour to the dishes.
Level up by creating more textures using certain fresh ingredients that weaves a story of the cuisine. A hand pouring the sauces can add a human element. Keep it simple, fresh and appetising. There are no hard and fast rules. Have fun and develop your own style and identity. Happy shooting!